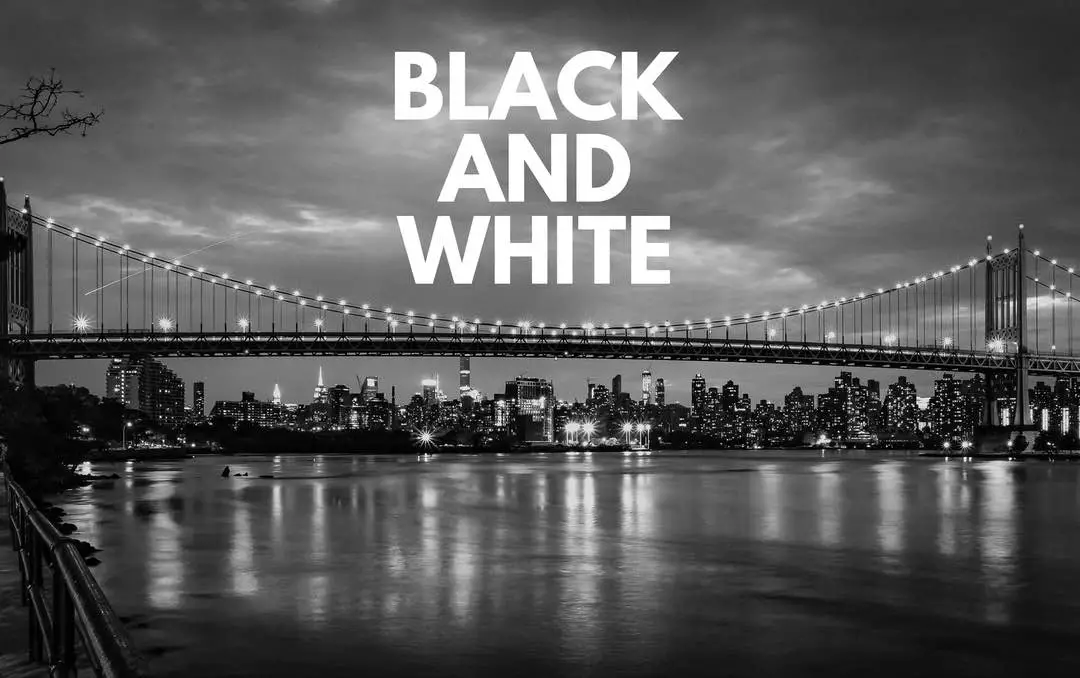
5 Ways to Convert to Black and White (and 2 Bonus Tips!)
I recently imported an image in a CSP project that I wanted to convert to black and white.
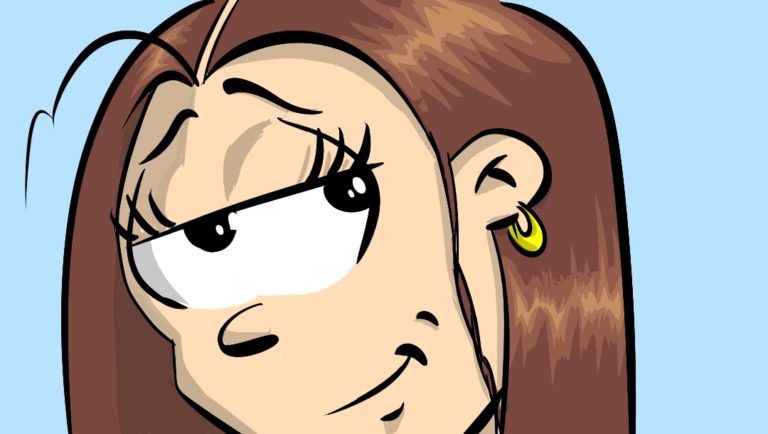
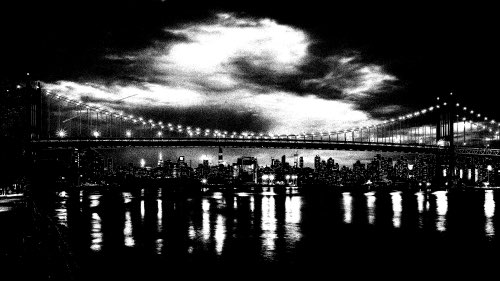
For the sake of tutorial, let’s just say it was this lovely image:
Surely, Clip Studio Paint can convert the image to black and white, right?
Yes, and there are multiple ways.
1. Save File as Black and White
When you export the image, you can choose to export it in gray scale:
As someone with a bit of a photographic background, the thought of leaving this entirely up to the computer frightens me. Different colors turn to different shades of gray.
We’ll discuss more about how to work on that level in a bit. But, first, what if you just want one layer converted to black and white?
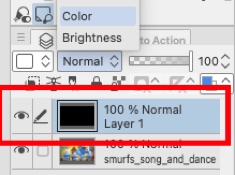
2. Convert a Single Layer to Black and White in a Project
Right click (or CMD-click, on a Mac) the layer you want to turn black and white.
Choose the “Convert Layer…” option.
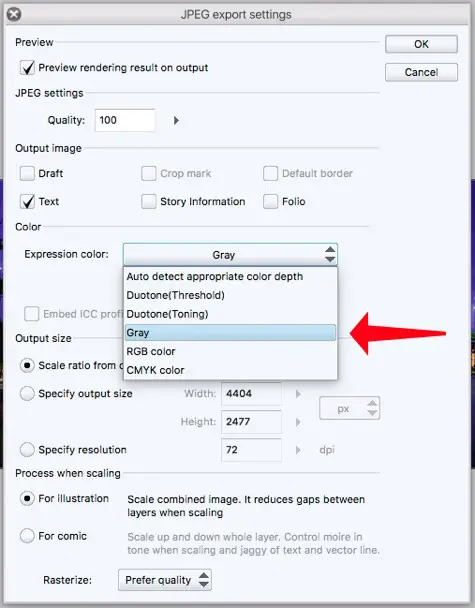
That pops open a window that looks like this:
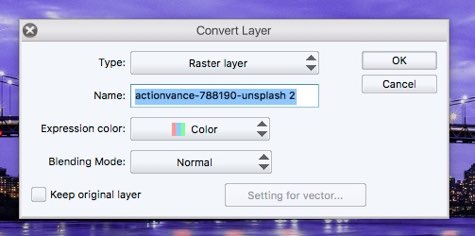
You want to change the “Expression color” option from “Color” to “Gray.”
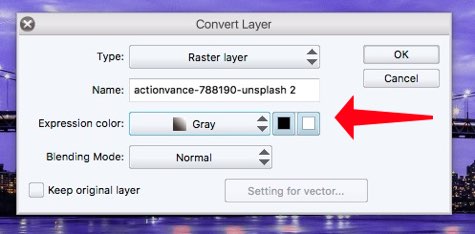
As the French might say: Et Voila!
That “Expression Color” dropdown contains another option, “Monochrome.” That option converts the layer to black and white, with no grays. Here’s what that looks like:
That’s probably too much, though.
3. Use the Fill Tool
Add a new layer on top of all your layers.
Using the Fill tool (set to “Refer Edited Layer Only”), fill this new layer entirely with the color black.
The entire image will now be completely black.
While this layer is selected, go to the dropdown above the layer that currently says “Normal” and change it to “Color.”
There’s your black and white image. If you want to play with this — say, a yellow and white image — just fill that top layer with the appropriate color.
4. Desaturate the Layer
Another way to think about turning an image black and white is to think of desaturating the colors in it. If all the colors get set to zero, the only thing you have left are the blacks, grays, and whites.
Right click on the layer you want to modify and choose “New Correction Layer” –> “Hue/Saturation/Luminosity”.
Pull the Saturation slider all the way to the left. Boom! Instant black and white.
5. Convert Layer to a New Color
There’s another way to do this. It’s an extra click, but it’s just as effective.
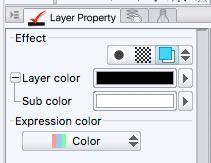
Look at the palette with the Layer Property tab. By default, it’s just above the palette with all the layers in it.
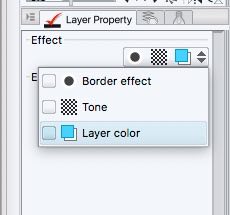
In the Layer Property tab, click the down arrow to see the “Layer Color” option. Choose black there. Bingo — it’s black and white.
This is the same way you can turn line art into the old-fashioned “non-reproducible blue” style of art that I talked about in “The Blue Line Trick.”
If you want to get really fancy, this is also where you can make up a duotone effect by changing the secondary color from white to something else, too….

How to Make ANY Black and White Image Look Better
Punch it up a little bit. I’m heading back into the old photographer bag of tricks here.
Add another “New Correction Layer” and this time choose “Tone Curve”.
Leave the dropdown in the upper left of the Tone Curve window set to “RGB.”
It starts as a straight diagonal line cutting from the lower left to the upper right. If you can give it a little bit of an “S”-curve shape, you’ll punch up the contrast a little bit and the final image will look better.
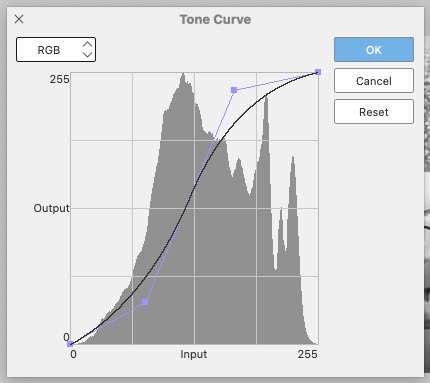
Here’s how to do that: Click on the line about three quarters of the way up and pull it up and to the left a bit. Then click on the line about quarter of the way up and pull it down and to the right.
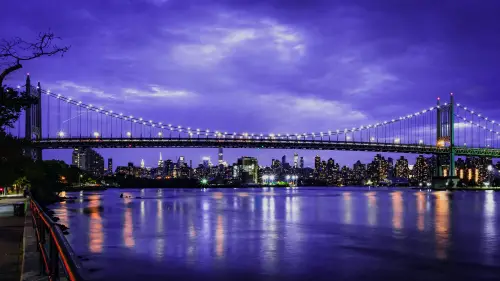
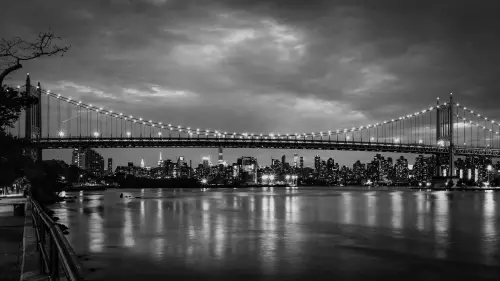
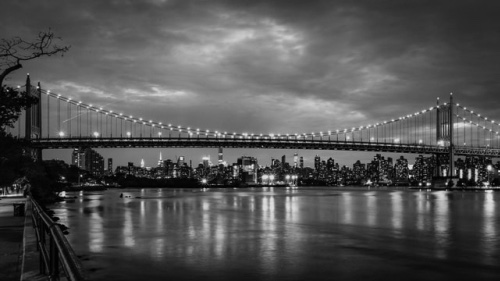
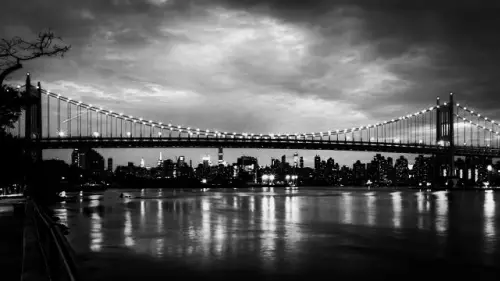
I overdid it for the sake of this demonstration. I normally wouldn’t go quite this dark and contrasty, but I think it works as a super dramatic image:
The Dirty Little Secret to Black and White
Adjusting the colors will completely change how your black and white photos look.
This is something I learned during my all-too-brief career as a concert photographer. One of the best tricks in that line of photography is to turn any image where the red light hits the singer into a black and white image. It just works. Those reddish skin tones convert magically. It doesn’t work as well with the green or blue lights.
How do you convert at the individual color’s level?
Go to “New Correction Layer” –> “Level Correction” from the original color image.
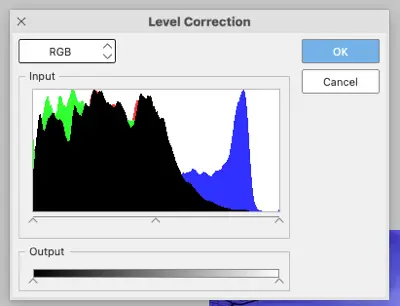
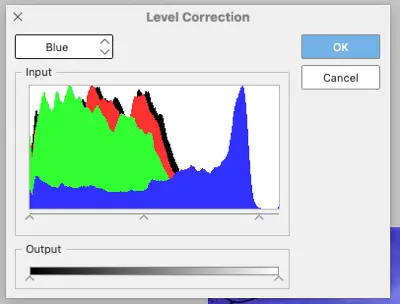
Adjusting the arrows on the RGB layer will make your image brighter and darker. It’s not what we’re looking for here. Instead, click the dropdown in the upper left corner and play with the settings on Red, Green, and Blue individually.
With this image and its general purpleness, the Red and Blue levels will provide the greatest changes.
The red levels, in particular, will adjust the lights. Move the middle slider to the left and more lights appear in the buildings in the background. Their lights also get a little brighter.
The blue levels here controller how dark the blacks look, to my eye. Slide the middle slider to the right and it almost feels like you’re adding a vignette.
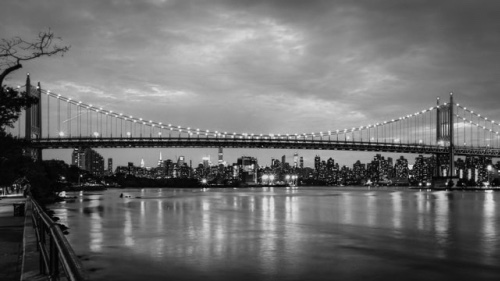
The image is a little brighter now, more details are visible overall, and the contrast remains stronger than when we started.
The other trick you can do with each color is to move the left and right arrows in until they touch the edge of where that color disappears from the graph. For example:
The blue goes all the way to the edge on the left side, but there’s empty room to the right to slide the slider across to meet up with the edge of the blue. In this picture’s case, all three layers are already overflowing to the left; it’s just a small tweak of the right slider to get it there. Those are small changes that can make a big difference.
It doesn’t all come through at this reduced size but you get the idea:

Conclusion
There are small differences, relatively speaking, between these paths to black and white. In the end, you need to choose what works for you and the image you’re trying to create. Using just one tool for something like is rarely the answer. You usually need to combine a couple of them to tweak things to your version of perfection.
Or, honestly, use a photo editing tool do do your final black and white conversion, assuming you’re doing it for the full image. Things like Lightroom, Affinity Photo, and Luminar are built for that kind of thing. If you enjoy pain and poverty, there’s also Photoshop.