An Introduction to Clip Studio Assets
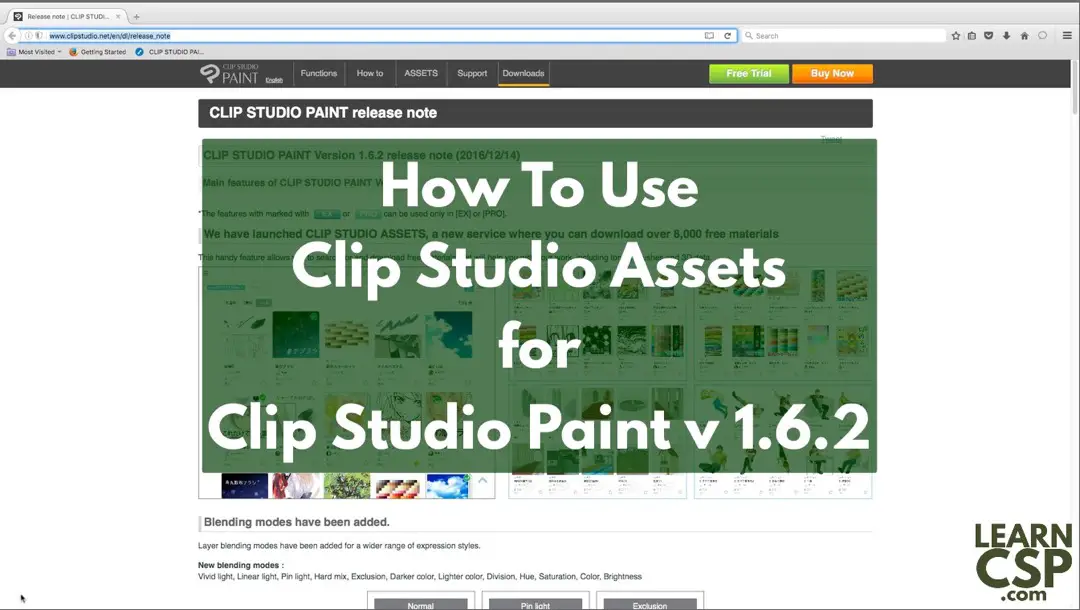
How To Use Clip Studio Assets
With the new Clip Studio Paint v1.6.2, we have a new application: Clip Studio Assets. It gives you a store, essentially, to find and download new brushes, materials, and other assets to your installation of CSP.
In this video, I will show you how to register for the store, find what you’re looking for, download, and then find and organize these new materials.
The Script (Because a Transcript Would Be Too Much Work)
Here is the script I wrote for this video. You might see a couple of things that got cut out of the final video in here, but it’s nothing important. I tried to cut out the asides to come in under five minutes with this.
Here we go:
Clip Studio Assets Introduction
With the new update to Clip Studio Paint v. 1.6.2, we got a second application. It’s meant to be a store for downloading assets for Clip Studio Paint — brushes, materials, etc.
This is clearly a version 1 release with lots of rough edges to be sanded down, but the idea is a good one, so let’s take a first look at what it has.
It’s called Clip Studio Assets. But it’s wrapped up in a launching program called CLIP STUDIO, that provides you links to Clip Studio Assets as well as Clip Studio Paint. I will just assume this is the beginning of a family of apps to be built up in the future.
Click on this paperclip looking icon instead of the other paperclip looking one. It’s the one that looks more like the email AT symbol than the question mark looking one for Paint.
Create an Account
You’ll need to create an account to start.
Click the Log In button and then Register as New Member. This will take you to a Clip Studio Account website where you’ll need to enter your email address to get started. (Why Clip Studio Account isn’t another tab in the launcher, I don’t know…)
In any case, that will fire off an email to you with a verification link. Go to your email program of choice and wait for that email. Click on that link to verify you are who you claimed to be and it’ll take you back to Clip Studio Account
At that point, you’ll wind up on this page where you can give your account a password and a handle or an ID. That’s what will show up at the top of your window in the future.
Once you have all that, you can go back to Clip Studio Assets. It’s still open, so feel free to CMD-TAB or ALT-TAB over there, depending on the operating system you’re using.
Click the Log In button now and enter your email address and password. Don’t use your ID or nickname, just your email address.
Now you can see you’re logged in. Over on the left sidebar, there’s a link to open up Clip Studio Paint and a link for where you currently are in the Assets catalog.
Introduction to the Store
You’ll see the store here in the main pane. And, yes, it’s in Japanese a lot. Nobody said this was going to be easy.
But there’s enough English in there to work out what you’re looking at, and some extra tools to help you find your way around.
There are new additions to the catalog they start you on. Since the store is new, EVERYTHING is really new to us.
Click the “Detail” button next to the search bar to see all the kinds of things you can download. Including Brushes, Materials, Auto Actions, Color Sets, and more.
Special note there: Licensing is different for Corporation vs. User. From what I’ve seen in the early going so far, it looks like a User is basically allowed to use one copy of the item they downloaded, while the Corporation has to pay for each seat. Now, I haven’t come across any items for sale yet, but I’m sure that’ll be here before you know it. They’re testing everything out here with free content so far, which is a good idea.
With each available item for download, you can see the user who’s credited with creating each item, a download count, the price (tho everything is FREE at the moment) and there’s a star here if you want to favorite something.
Click on the image to get a closer look and, if you happen to speak Japanese, a detailed explanation of what it is. You also get social media links if you want to share something you’ve found and liked, and some other assets by the same creator that might be of interest to you.
Now, if you want what you see, click the red Download button. That kicks off the download. You can watch its progress by hitting the two arrows button above.
This window pops up where you can watch the download progress. When it’s done, you can clear your history here if, like me, you try to keep SOME things in your life neat.
You can’t leave this window open and go back to the other, though. This one grabs the focus for the application and will NOT give it back. So close it out with the “X” in the corner and back you are.
Find Your Assets
The big question everyone has at this point is, “Where did my download go?”
I’ll show you, because it’s not completely obvious.
Click on the “Paint” button over in the sidebar to launch Clip Studio Paint.
Now, look over here with your materials. You’ll see what you’ve downloaded already in the All Materials section, but you can see specifically ONLY see what you’ve downloaded in the Download section at the bottom. It’s the folder with the down arrow over it here.
From there, you can drag and drop your new tools to where you want them.
I can take this brush and move it to an appropriate brush family.
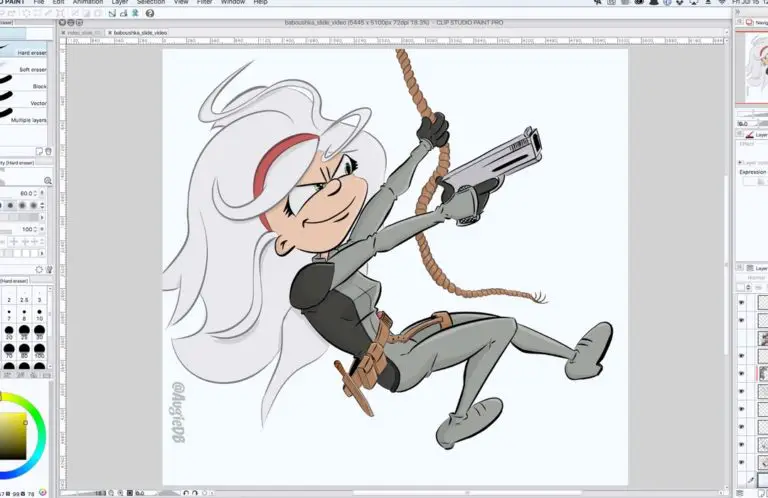
Then start a new canvas, select your new brush, and draw away.
That’s a quick run through of the new Clip Studio Assets app. It’s really the CLip Studio framework with an embedded webpage, but it’s a good start.
For more tips, tutorials, and resources, stop on by LearnCSP.com. I’m Augie De Blieck. Thanks for watching.